Once MFA has been enabled for your account, it is mandatory to use. When you have been notified that MFA has been enabled for your account, please follow these instructions to set it up.
Step 1: Log in to https://outlook.office.com in your preferred browser.
Step 2: You will then be prompted to provide more information. Click "Next".
Step 3: You will then be brought to the below page, and asked to choose an MFA method.
Choose 1 out of 3 authentication methods available in the dropdown list.
- Mobile app
- Authentication phone
- Office phone - This method is not supported by Michener and cannot be used.
It is recommended to use the Mobile App option.
Option 1 (Recommended) – Mobile App
Step 1: Download the Microsoft Authenticator App on your phone.
iPhone: App Store
Android: Google Play

Step 2: On the "Additional security verification" page on your computer, select "Mobile app" from the dropdown. You will also be asked "How do you want to use the mobile app?" and be given two options.
1. Receive notifications for verification - This method just requires you to tap "OK" on a notification on your phone when you log in.
2. Use verification code - Using this method, you will need to open the app, and copy a six-digit code into your browser every time you log in.
It is recommended to use the Recieve notifications for verification option.
Choose an option, and click the "Set up" button.
Step 3: An activation code will display.
Step 4: Open the App you downloaded earlier on your phone, and click "Add Account", then “Work or school account”.


Step 5: Scan the QR code displayed on your computer. If you're unable to scan the code, please manually enter the activation code.

Step 6: On your computer, click "Next".
Step 7: The website will then check if your app was activated successfully. If it stalls on this step, please click "Set up" again and try adding the account to your phone again.
Step 8: Once it has completed, the "Set up" button will be grayed out and the message "Mobile app has been configured for notifications and verification codes." will appear next to the button. Now click "Next".
Step 9: In the App, you will get a pop-up to approve the sign-in. Tap “Approve”. If you chose "Use verification code" you will be asked to enter a code instead. Please tap the notification or enter the code as promptly as possible to avoid timeout.

Step 10: You will then be asked to provide your phone number as a backup authentication method, should you ever lose access to the app. Please provide a cellphone number, ideally your personal or work cellphone number, then click "Next".
Step 11: You will then be provided an "app password". Most users shouldn't require this, however if you use an older Outlook client offsite, an older version of Mac OS Mail or similar client, you may need to provide it. You can note it down, however you can always generate a new app password in the future if needed. Once you're done, click "Done".
Setup is now complete.
Option 2 – Authentication Phone
NOTE: Our recommended solution is to use the Microsoft Authenticator mobile app, as it is more reliable and easier to use. Please only utilize this option if you do not have a mobile device capable of running the app.
Step 1: On the "Additional security verification" page on your computer, select "Authentication phone" from the dropdown, and enter your phone number. We recommend using a mobile device you own or control. You will also be asked which method you would like to use.
1. Send me a code by text message - Receive a text message to your mobile device with a six digit code.
2. Call me - Receive an automated phone call to your mobile device that tells you a six digit code.
Choose the option you prefer. Both options will be covered in this part of the guide. Once you have chosen, click "Next".
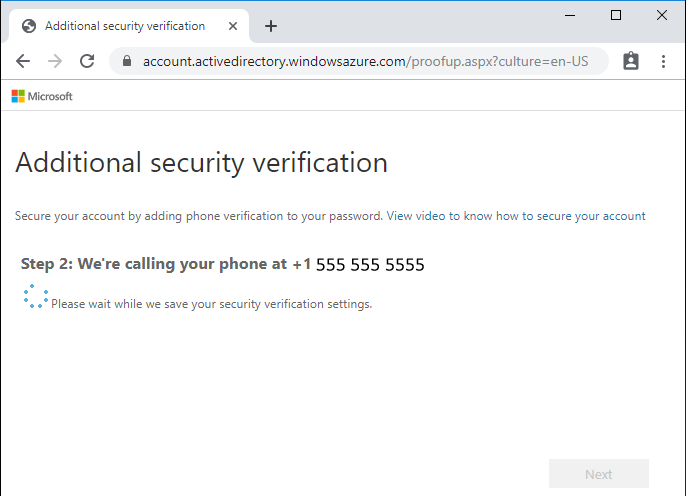
Step 2: You will then receive a call or text depending on the method you chose. Please answer the call or check for the message.
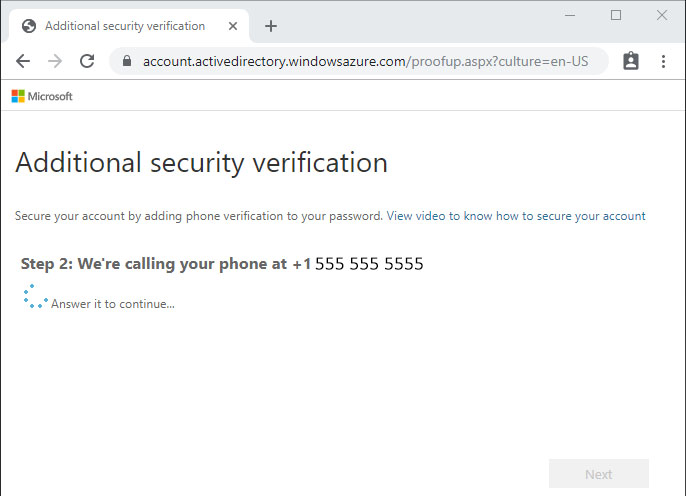
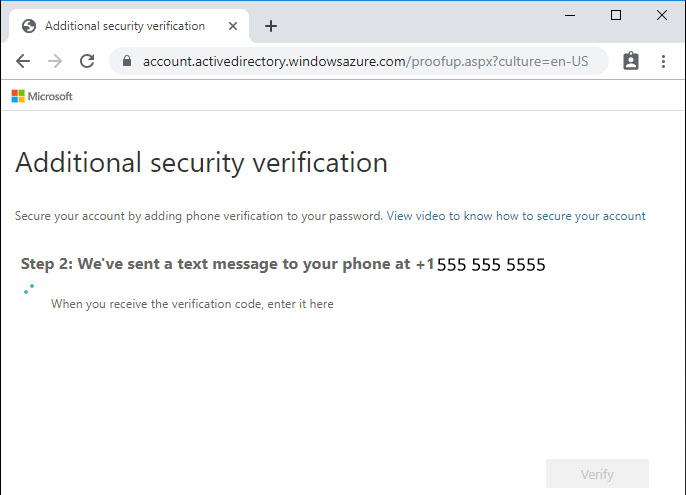
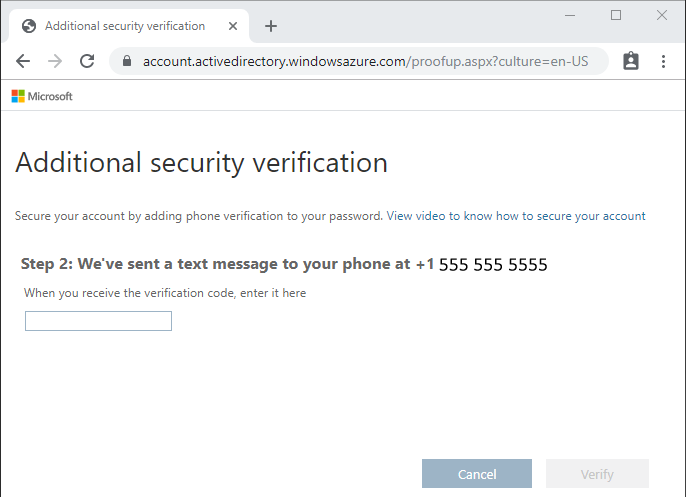
Step 3: If you chose to be called, you will be asked to press the pound key (#) to continue and you will be automatically forwarded to the next step. If you chose to receive a text message, you will receive a six digit code you need to enter. Please enter the code and click "Verify".
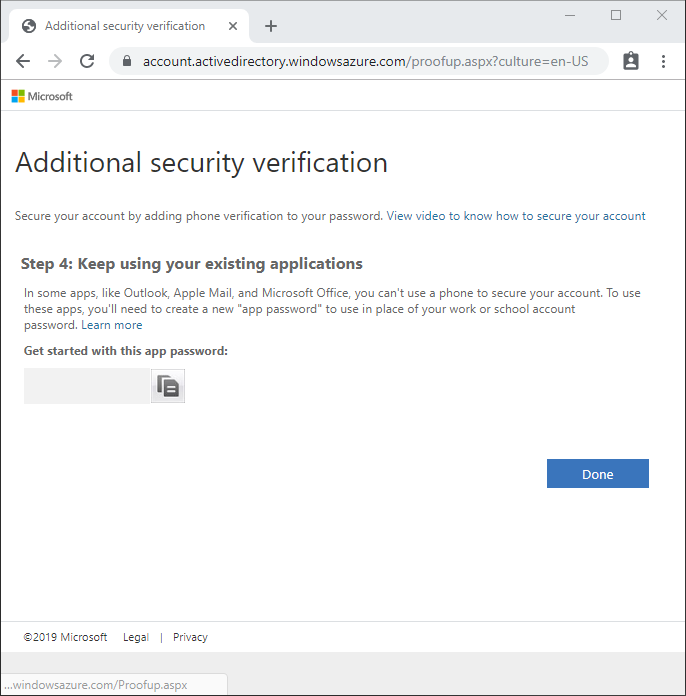
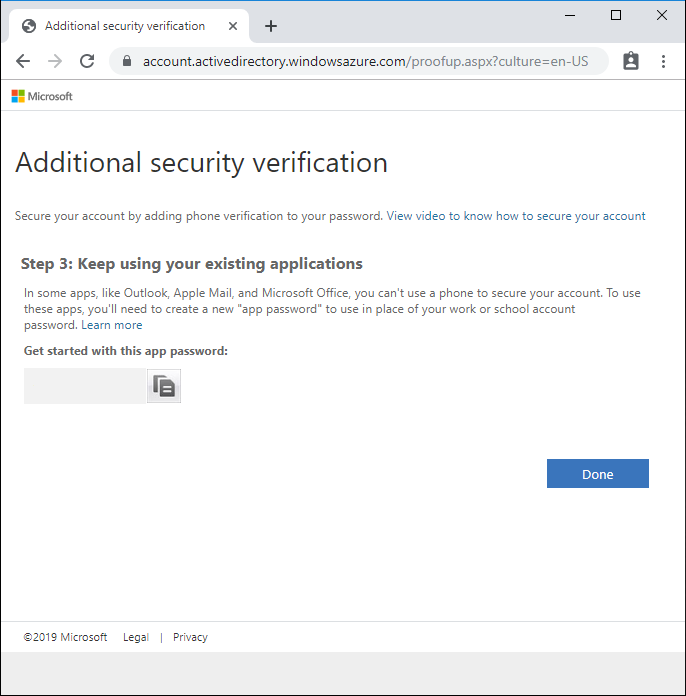
Step 4: You will then be provided an "app password". Most users shouldn't require this, however if you use an older Outlook client offsite, an older version of Mac OS Mail or similar client, you may need to provide it. You can note it down, however you can always generate a new app password in the future if needed. Once you're done, click "Done"
Congratulations! You've now completed the Multi-Factor Authentication process.
Troubleshooting:
In some instances, after enabling MFA you may be prompted to re-enter your password in some applications, and it will not accept the password. This occurs because some applications (including Outlook 2016, iOS and Android email app) do not support Microsoft’s new “modern authentication” protocol and will repeatedly prompt you to enter your password. The app is unable to send a verification prompt to validate your login. If this does occur, you can do one of the following:
- Remove the account from the app and re-add it
- Create an app password

Comments
0 comments
Article is closed for comments.